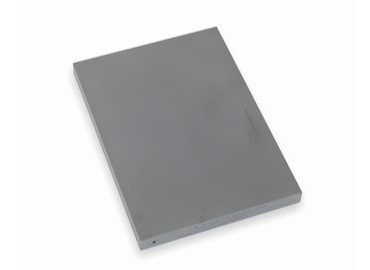
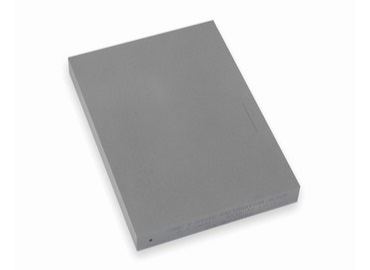
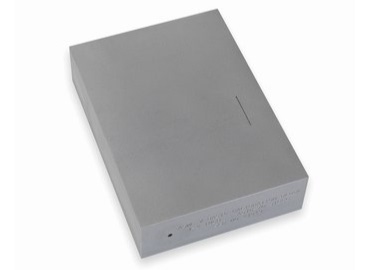
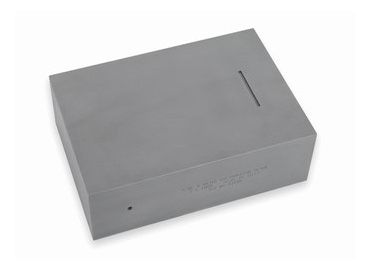
ASME Sec V Basic Calibration Block
Used for establishment of primary reference responses for UT examination of welds.
From: $1,237.00
Request a Quote
We pride ourselves in providing fast deliveries. However inventory changes rapidly and on occasion some items may not be in stock. If you require an expedited shipment, please contact us via e-mail or call our office to confirm availability of an item. *Nominal lead times vary by product.
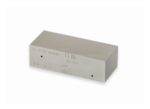
Block contains three side-drilled holes at 1.5″ deep minimum at 3/32″ diameter (½” and ¾” blocks), 1/8” diameter (1½” block) and 3/16” diameter (3” block). Hole locations through the thickness are ¼, ½, and ¾T. Also contains two EDM notches measuring 2%T deep x 1/4″ max wide x 1.0″ long min. In accordance with ASME Sec V Art. 4 Fig. T-434.2.1.
ASME Basic Calibration Blocks are intended to be representative of actual components, and therefore do not have the smooth scanning surfaces found on most general-purpose test blocks like the IIW or DSC. Instead, our Basic Calibration Blocks are media blasted on all surfaces to create a rough surface texture that is more characteristic of real-world inspection conditions.
- Optional Hardwood Case available
- ½” Block Dimensions: ½” thick x 6¼” wide x 4½” long
- ¾” Block Dimensions: ¾” thick x 6¼” wide x 4½” long
- 1½” Block Dimensions: 1½” thick x 6¼” wide x 4½” long
- 3” Block Dimensions: 3″ thick x 6¼” wide x 9″ long
*Also available in long version for 60/70° transducers or phased array.
No resources available.

