DM5E Series Wall Thickness Gauge
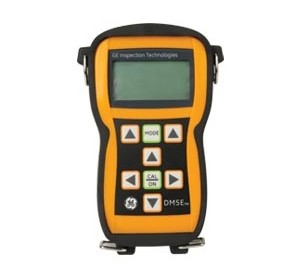
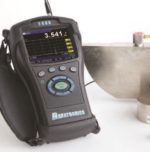
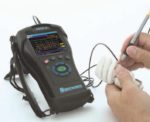
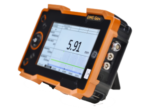
The DM5E Series Ultrasonic Wall Thickness Gage enables you to accomplish a large number of demanding tasks, especially with remaining wall thickness measurements on components subjected to corrosion and erosion. These gages are smart, simple-to-use ultrasonic thickness gages that offer big performance in a small lightweight package. Their compact size and ergonomic shape provide comfortable one-hand use.
Request a Quote
We pride ourselves in providing fast deliveries. However inventory changes rapidly and on occasion some items may not be in stock. If you require an expedited shipment, please contact us via e-mail or call our office to confirm availability of an item. *Nominal lead times vary by product.
- Three levels – DM5E Basic, DM5E and DM5E DL
- Thickness measurement under coating
- User-friendly operator interface
- New range of high performance probes
- Flexible data processing
- A range of measurement displays
All versions of the DM5E offer a range of measurement displays:
- Normal: the thickness value appears as large digits in the centre of the display
- MIN Scan: a minimum thickness scan that allows the user to run the probe over the wall surface. After the evaluation period, the minimum material thickness measured is displayed
- MAX Scan: a maximum thickness scan is exactly the same as a MIN Scan apart from the fact that the maximum thickness measured is displayed
- DIFF/RR%: compares the measured thickness with a user-specified nominal thickness – dimensional difference between the two values is displayed, as is the percentage difference
- B-Scan: displays a graphic representation of a B-Scan showing minimum thickness values – graph is derived by measuring and recording at 1 point per second
The DM5E Basic: The rugged housing of the DM5E Basic is common to all versions. It is ergonomically designed with a weight of just 223g, including its AA batteries, which allow up to 60 hours of operation. The basic version is specified to EN 15317 and features an LCD data display, which is backlit to be visible in all lighting conditions. Instrument operation is carried out with one hand via a user-friendly interface. This is a sealed, watertight and dust-proof membrane keypad, which features a minimum of function keys and arrow keys. Navigation through menus is simple and intuitive. The basic version incorporates a wide range of features including Min/Max capture, B-Scan generation, alarms and differential thickness measurement to allow instant comparison between measured and nominal thickness.
The DM5E: The DM5E incorporates all the features of the DM5E Basic but also offers the DUAL MULTI operating mode. This has been used in previous GE corrosion thickness gauges and has proved invaluable in measuring thickness of metal through coatings. There is no need to remove the coating at the measuring point, saving time and money. Users can up-grade from DM5E Basic to DM5E in the field .
The DM5E DL: The DM5E DL is identical to the DM5E but features a built-in datalogger supporting grid style data file formats. This is capable of holding up to 50,000 readings. Files can be transferred to a PC by means of a Mini USB Com port. Files can also be imported directly into Microsoft Excel through a macro. All alphanumeric data for filenames and notes is directly entered via the key pad. Both the basic and standard versions are field-upgradeable to become DL versions.

